I make this chocolate peppermint bark every year when the weather turns cool and the kitchen starts to feel a little cozier. It’s one of those simple treats that looks special but comes together without much effort. The mix of smooth chocolate and cool peppermint always reminds me of quiet evenings and shared plates.
I love how easy it is to prepare ahead and keep on hand for family moments or small gatherings. It’s also a great recipe to make with kids because there’s plenty they can help with. The layers set beautifully, and the crisp snap makes it feel like a true holiday favorite.
Why You’ll Love This Recipe
This chocolate peppermint bark is all about balance, with rich chocolate paired with a refreshing hint of peppermint. The layers create a smooth and slightly crunchy texture that feels satisfying in every bite. It’s simple but still feels thoughtful and homemade.
It’s also incredibly easy to make, even if you don’t spend much time in the kitchen. There’s no baking involved, and the steps are straightforward and forgiving. You can prepare it in advance and break it into pieces whenever you need a quick treat.
Families enjoy this recipe because it’s fun to make together and easy to customize. You can adjust the peppermint level or add small extras to suit different tastes. It’s a reliable option that turns out well every time.
Serves: 8 people
This recipe makes enough bark to serve about eight people, depending on how large you break the pieces. It’s easy to double if you’re preparing for a gathering or want extras for gifting. The portions are flexible, making it a practical choice for both small and larger groups.
Ingredients You’ll Need
Chocolate Layers
- 12 oz semi-sweet chocolate chips
- 12 oz white chocolate chips
Flavoring and Topping
- 1 teaspoon peppermint extract
- ½ cup crushed peppermint candies or candy canes
Optional Add-Ins
- 1 teaspoon coconut oil (for smoother melting)
- Pinch of sea salt for garnish
Pro Tips
- Melt the chocolate slowly using a double boiler or short intervals in the microwave to avoid burning. Stir often to keep the texture smooth and even.
- Use good-quality chocolate chips or bars for the best flavor and a clean snap once the bark sets. This makes a noticeable difference in the final result.
- Let each layer set slightly before adding the next to keep the layers distinct. If the base is too soft, the layers may blend together.
- Crush the peppermint candies into small, even pieces so they distribute well across the surface. Large chunks can make the bark harder to break.
- Line your pan with parchment paper to make removal quick and easy. This also helps keep the edges neat and prevents sticking.
- Keep the peppermint extract measured carefully, as a little goes a long way. Too much can overpower the chocolate.
Tools You’ll Need
- Baking sheet or shallow pan
- Parchment paper
- Microwave-safe bowls or double boiler
- Spatula
- Measuring spoons
- Rolling pin or sturdy glass (for crushing candies)
Substitutions and Variations
Use Dark Chocolate Instead
Swap semi-sweet chocolate with dark chocolate for a richer flavor. It creates a deeper taste that pairs well with the peppermint.
Make It Dairy-Free
Choose dairy-free chocolate chips for both layers. The texture stays smooth while keeping the recipe suitable for more diets.
Add a Crunchy Layer
Mix in crushed pretzels or rice cereal with the chocolate. This adds a light crunch that makes each bite more interesting.
Adjust the Peppermint Flavor
Use less peppermint extract or skip it if you prefer a milder taste. The crushed candies will still provide a gentle mint flavor.
Lighten It Up
Use a thinner layer of chocolate and add more peppermint pieces on top. This keeps the treat lighter while still feeling festive.
Make Ahead Tips
This chocolate peppermint bark is a great option to prepare in advance, especially during busy seasons. You can make it a few days ahead and store it in a cool, dry place until you’re ready to serve. It holds its shape well and stays fresh without much effort.
If you prefer to plan further ahead, you can refrigerate the bark after it sets. Wrap it tightly or place it in an airtight container to keep moisture away. When you’re ready to serve, let it sit at room temperature for a few minutes so the texture softens slightly.
You can also freeze the bark for longer storage. Place layers between parchment paper in a freezer-safe container to prevent sticking. Thaw in the refrigerator overnight, then bring to room temperature before serving for the best flavor and texture.
Instructions
Step 1: Prepare the Pan
Line a baking sheet or shallow pan with parchment paper, making sure it covers the bottom and sides. This helps the bark lift out easily once it has set. Set the prepared pan aside on a flat surface so it’s ready when the chocolate is melted.
Step 2: Melt the Dark Chocolate
Add the semi-sweet chocolate chips to a microwave-safe bowl or double boiler. Heat in short intervals, stirring in between, until the chocolate is fully melted and smooth. If using coconut oil, stir it in to create a glossy finish.
Step 3: Spread the First Layer
Pour the melted chocolate onto the prepared pan and spread it into an even layer using a spatula. Work gently to keep the thickness consistent across the surface. Place the pan in the refrigerator for about 10–15 minutes until the layer is mostly set but not too firm.
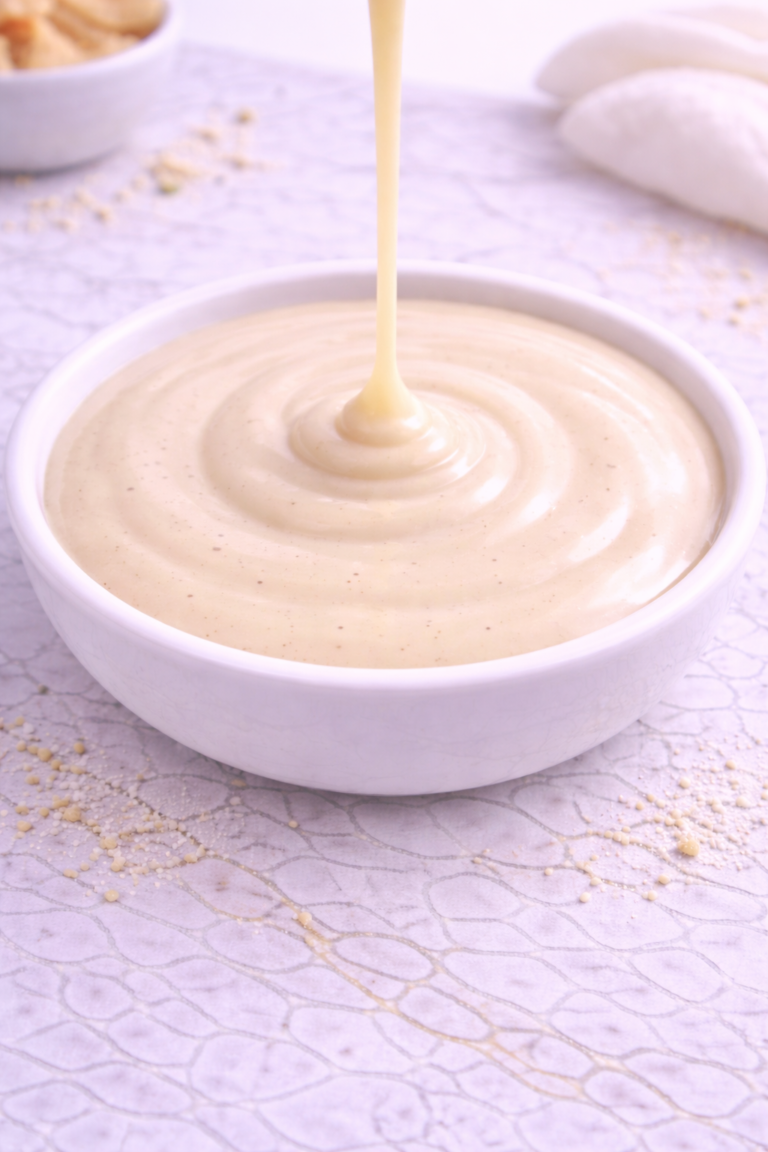
Step 4: Melt the White Chocolate
Place the white chocolate chips in a clean bowl and melt them slowly, stirring often. Once smooth, mix in the peppermint extract carefully so the flavor is evenly distributed. Keep the mixture smooth and avoid overheating.
Step 5: Add the Second Layer
Pour the melted white chocolate over the slightly set dark chocolate layer. Spread it gently to cover the surface without disturbing the base layer. Work quickly but carefully to keep the layers distinct.
Step 6: Add the Peppermint Topping
Sprinkle the crushed peppermint candies evenly over the top while the white chocolate is still soft. Press them down lightly so they stick as the chocolate sets. This step adds both texture and a festive look.
Step 7: Chill Until Set
Place the pan in the refrigerator and let the bark chill for at least 30 minutes, or until fully firm. The chocolate should feel solid and cool to the touch. Avoid rushing this step to ensure clean layers.
Step 8: Break Into Pieces
Once fully set, lift the bark out using the parchment paper. Break it into pieces by hand or cut it with a sharp knife for more uniform shapes. Arrange on a plate or store for later use.
Serving Suggestions
Serve this chocolate peppermint bark on a simple platter for an easy dessert that feels special without extra effort. It pairs well with warm drinks like hot chocolate or coffee, making it a cozy treat for quiet evenings.
You can also package it in small bags or boxes for sharing during gatherings or as thoughtful homemade gifts. It holds up well at room temperature, so it’s easy to bring along to events or include in dessert spreads.
For a fun family touch, add it to a dessert board with cookies, fruit, and other small sweets. This makes it easy for everyone to enjoy a variety of flavors and textures in one place.
It also works nicely as a sweet addition to lunch boxes or afternoon snacks. The pieces are easy to portion, and the flavor feels just right for a quick treat during the day.
If you’re serving it after a meal, try pairing it with something simple like fresh fruit. The contrast helps balance the richness and keeps the dessert from feeling too heavy.
Leftovers and Storage
Store leftover chocolate peppermint bark in an airtight container to keep it fresh and maintain its texture. Keep it in a cool, dry place away from direct sunlight or heat sources. This helps prevent the chocolate from softening or developing a dull appearance.
If your kitchen is warm, it’s best to store the bark in the refrigerator. Place parchment paper between layers to keep the pieces from sticking together. When ready to serve, let it sit out for a few minutes so the texture isn’t too firm.
For longer storage, freezing is a reliable option. Use a freezer-safe container and separate layers with parchment paper to protect the surface. When thawing, move it to the refrigerator first to avoid condensation forming on the chocolate.
Try to avoid frequent temperature changes, as this can affect the look and texture of the bark. Keeping it stored consistently will help preserve both flavor and appearance.
Nutrition and Benefits
- Chocolate peppermint bark offers a satisfying balance of sweetness and richness, making it a small treat that feels complete without needing large portions.
- Dark or semi-sweet chocolate contains antioxidants, which can support overall wellness when enjoyed in moderation.
- Peppermint adds a refreshing flavor that can feel light and help balance the richness of the chocolate layers.
- This recipe is easy to portion, making it helpful for managing serving sizes and reducing food waste.
- Making it at home allows you to control the ingredients and adjust sweetness or flavors to suit your family’s needs.
Recipe FAQ
Can I use chocolate bars instead of chocolate chips?
Yes, chocolate bars work very well and often melt more smoothly. Chop them into small, even pieces before melting to help them heat evenly. This can improve the overall texture of the bark.
Why did my chocolate layers mix together?
This usually happens if the first layer wasn’t set enough before adding the second. Let it firm up slightly in the refrigerator but not completely hard. That balance helps keep the layers separate.
How do I crush peppermint candies easily?
Place the candies in a sealed bag and gently crush them with a rolling pin or glass. Aim for small, even pieces rather than fine dust. This helps distribute the flavor and keeps a nice texture.
Can I skip the peppermint extract?
Yes, you can leave it out if you prefer a lighter mint flavor. The crushed candies will still add a subtle peppermint taste. This is a good option for those who want a milder version.
Why does my chocolate look dull after chilling?
This can happen due to temperature changes causing a slight bloom on the chocolate. It doesn’t affect the taste or safety. Keeping the bark stored at a steady temperature can help prevent this.
Can I make this recipe with kids?
Yes, this is a very family-friendly recipe with simple steps. Kids can help with stirring, spreading, and adding toppings. Just supervise during the melting process to keep it safe.
How long does chocolate peppermint bark stay fresh?
When stored properly in an airtight container, it can stay fresh for up to two weeks at room temperature. If refrigerated or frozen, it can last even longer. Always check that it stays dry and well sealed.
A Sweet Minty Treat to Share Again
This chocolate peppermint bark is a simple way to bring a little comfort into your kitchen without adding extra work. The smooth chocolate layers and crisp peppermint topping come together in a way that feels both familiar and special. It’s the kind of treat that fits easily into everyday moments or small celebrations.
It’s also a reliable recipe you can return to whenever you need something quick and thoughtful. With easy steps and flexible options, it works well for families, gatherings, or quiet afternoons at home. Once you make it, it’s easy to see why it becomes a favorite worth keeping on hand.