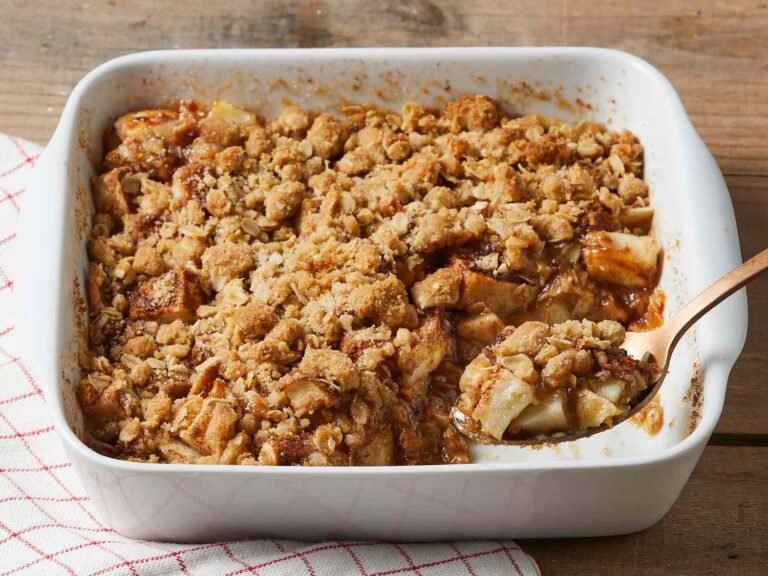
I make these dark chocolate walnut fudge brownies when I want something rich and comforting that doesn’t take too much effort. They come together in one bowl and fill the kitchen with a deep chocolate aroma that feels calm and familiar. The texture is soft and dense with just the right amount of bite from the walnuts.
I often bake a batch on quiet afternoons and let them cool while everything settles around me. They’re easy to slice and share, which makes them a good choice for both family time and small gatherings. It’s a simple recipe that turns out dependable every time.
Why You’ll Love This Recipe
These dark chocolate walnut fudge brownies have a rich, deep chocolate flavor with a soft, fudgy center that feels satisfying without being too heavy. The walnuts add a gentle crunch that balances the smooth texture of the brownies. Each bite has a mix of softness and structure that makes them easy to enjoy.
They’re also very approachable, even if you don’t bake often. The steps are straightforward, and the ingredients are simple pantry staples. You don’t need special equipment or advanced techniques to get a good result.
Families enjoy this recipe because it’s easy to make ahead and keeps well for a few days. The brownies hold their shape, slice cleanly, and can be packed for snacks or desserts. They work well for everyday treats or casual occasions.
Serves: 9 people
This recipe makes about 9 square brownies, depending on how you cut them. You can make smaller pieces if serving a larger group or double the recipe for a bigger batch. The portions are flexible and easy to adjust.
Ingredients You’ll Need
For the Brownies
- 1 cup unsalted butter
- 8 oz dark chocolate, chopped
- 1 cup granulated sugar
- ½ cup brown sugar
- 3 large eggs
- 1 teaspoon vanilla extract
- ¾ cup all-purpose flour
- ¼ cup unsweetened cocoa powder
- ½ teaspoon salt
- 1 cup chopped walnuts
Optional Add-Ins
- ½ cup chocolate chips
- ¼ teaspoon espresso powder (to enhance chocolate flavor)
Pro Tips
- Melt the butter and chocolate slowly over low heat or in short microwave intervals to prevent burning. Stir often to keep the mixture smooth.
- Let the melted chocolate mixture cool slightly before adding the eggs. This helps prevent the eggs from cooking too quickly and keeps the batter smooth.
- Mix the batter just until combined once you add the dry ingredients. Overmixing can make the brownies more cake-like instead of fudgy.
- Fold in the walnuts gently so they are evenly distributed without breaking down too much. This keeps the texture balanced.
- Line your baking pan with parchment paper for easy removal and clean slicing. This also helps prevent sticking.
- Let the brownies cool completely before cutting so they set properly and hold their shape.
Tools You’ll Need
- Mixing bowls
- Heatproof bowl or saucepan
- Whisk or spatula
- Measuring cups and spoons
- 8×8-inch baking pan
- Parchment paper
- Knife for slicing
Substitutions and Variations
Make Them Nut-Free
Leave out the walnuts or replace them with chocolate chips. This keeps the brownies soft while removing the crunch.
Use Milk Chocolate
Swap part of the dark chocolate with milk chocolate for a sweeter flavor. This creates a milder taste while keeping the texture rich.
Make Them Gluten-Free
Use a gluten-free flour blend in place of all-purpose flour. The texture will remain soft and fudgy with the right mix.
Add a Swirl
Swirl in a bit of peanut butter or cream cheese before baking. This adds a subtle variation without changing the base recipe.
Lighten the Texture
Reduce the butter slightly and add a bit more flour. This creates a less dense brownie while still keeping it moist.
Make Ahead Tips
These dark chocolate walnut fudge brownies are easy to prepare ahead, which makes them a practical option for busy days or planned gatherings. You can bake them a day in advance and store them covered at room temperature. This resting time actually helps the texture settle, making the brownies easier to slice cleanly.
If you prefer to prepare further ahead, you can refrigerate the baked brownies for up to three days. Wrap them tightly or store them in an airtight container to keep them from drying out. When ready to serve, let them come to room temperature so the texture softens slightly.
You can also freeze the brownies for longer storage. Wrap individual squares in plastic wrap and place them in a freezer-safe container. Thaw at room temperature or in the refrigerator before serving to maintain the best flavor and texture.
Instructions
Step 1: Preheat the Oven
Preheat your oven to 350°F and line an 8×8-inch baking pan with parchment paper. Leave a slight overhang on the sides to make it easier to lift the brownies out later. Set the pan aside while you prepare the batter.
Step 2: Melt the Butter and Chocolate
In a heatproof bowl or saucepan, melt the unsalted butter and chopped dark chocolate together over low heat. Stir frequently until the mixture is smooth and fully combined. Remove from heat and let it cool slightly.
Step 3: Mix the Sugars
Add the granulated sugar and brown sugar to the melted chocolate mixture. Stir until the sugars are fully incorporated and the mixture looks glossy. This helps create the signature fudgy texture.
Step 4: Add Eggs and Vanilla
Add the eggs one at a time, mixing well after each addition. Stir in the vanilla extract until the batter is smooth. The mixture should thicken slightly and become shiny.
Step 5: Combine Dry Ingredients
In a separate bowl, whisk together the flour, cocoa powder, and salt. This ensures the dry ingredients are evenly distributed. It helps avoid clumps in the final batter.
Step 6: Mix the Batter
Gradually add the dry ingredients to the wet mixture, stirring gently until just combined. Avoid overmixing to keep the brownies soft and fudgy. The batter should be thick and smooth.
Step 7: Fold in Walnuts
Gently fold in the chopped walnuts, distributing them evenly throughout the batter. If using optional chocolate chips, add them at this stage as well. This step adds texture and depth to the brownies.
Step 8: Spread in Pan
Pour the batter into the prepared baking pan and spread it evenly with a spatula. Smooth the top so it bakes uniformly. This helps create an even thickness across the brownies.
Step 9: Bake the Brownies
Place the pan in the preheated oven and bake for 25 to 30 minutes. The edges should be set, and the center should still be slightly soft. A toothpick inserted in the center should come out with a few moist crumbs.
Step 10: Cool and Slice
Remove the brownies from the oven and let them cool completely in the pan. Once cooled, lift them out using the parchment paper and cut into squares. Cooling fully helps them set and hold their shape.
Serving Suggestions
Serve these dark chocolate walnut fudge brownies at room temperature for the best texture and flavor. The fudgy center and slight crunch from the walnuts create a balanced bite that feels satisfying without being too heavy. They work well as a simple dessert or a mid-day treat.
Pair them with a glass of milk or a cup of coffee to balance the richness of the chocolate. The slight bitterness of coffee complements the sweetness and deep flavor of the brownies.
For a slightly more indulgent option, serve them with a small scoop of vanilla ice cream. The contrast between warm brownies and cold ice cream creates a simple but enjoyable dessert.
You can also dust them lightly with powdered sugar for a clean and minimal presentation. This adds a subtle touch without changing the overall flavor.
If serving for guests, arrange the brownies on a platter and cut them into smaller squares for easy sharing. This makes them a convenient option for gatherings or casual events.
Leftovers and Storage
Store leftover brownies in an airtight container at room temperature for up to three days. Keeping them covered helps maintain their soft texture and prevents them from drying out. They tend to taste even better the next day as the flavors settle.
For longer storage, place the brownies in the refrigerator for up to five days. Wrap them well or store them in a sealed container to preserve moisture. Let them come to room temperature before serving for the best texture.
To reheat, warm individual brownies in the microwave for a few seconds. This softens the chocolate and brings back a fresh-from-the-oven feel. Be careful not to overheat, as this can dry them out.
Freezing is a reliable option for extending their shelf life. Wrap each brownie individually and store them in a freezer-safe container for up to two months. Thaw at room temperature or in the refrigerator before serving.
Avoid exposing the brownies to air for long periods, as this can cause them to become dry. Proper storage helps maintain their rich, fudgy consistency.
Nutrition and Benefits
- These brownies provide a combination of carbohydrates and fats, making them a satisfying dessert when enjoyed in moderate portions. They offer a rich and steady source of energy.
- Dark chocolate contains antioxidants, which can support overall wellness when included as part of a balanced diet. Choosing high-quality chocolate can enhance both flavor and benefits.
- Walnuts add healthy fats and a small amount of protein, contributing to a more balanced treat. They also bring a natural texture that complements the soft brownies.
- Making brownies at home allows you to control the ingredients and adjust sweetness or add-ins to suit your preferences. This can be helpful for families looking for simple recipes.
- The portioned squares make it easier to share and manage serving sizes. Smaller pieces still feel satisfying due to the rich texture.
Recipe FAQ
Can I make these brownies without walnuts?
Yes, you can leave out the walnuts if you prefer a smoother texture. You can also replace them with chocolate chips or another mix-in. The brownies will still be rich and fudgy.
Why are my brownies too cakey?
This usually happens if there is too much flour or if the batter was overmixed. Be sure to measure carefully and mix just until combined. This helps keep the texture dense and fudgy.
How do I know when the brownies are done?
The edges should be set, and the center should still look slightly soft. A toothpick inserted into the center should come out with a few moist crumbs. Avoid baking until completely dry, as this can make them too firm.
Can I use cocoa powder instead of melted chocolate?
Melted chocolate is important for the rich texture in this recipe. While cocoa powder is included, replacing the chocolate entirely will change the result. It’s best to use both for balance.
Can I double the recipe?
Yes, you can double the ingredients and bake in a larger pan. Adjust the baking time as needed and check for doneness in the center. This is helpful for serving a larger group.
Why did my brownies sink in the middle?
A slight dip in the center can happen as the brownies cool, especially with fudgy recipes. It’s usually not a problem and doesn’t affect the taste. Overmixing or underbaking can also contribute to this.
Can I add other mix-ins?
Yes, you can add ingredients like caramel pieces, white chocolate chips, or dried fruit. Keep the additions balanced so they don’t overwhelm the base. Small amounts work best for texture and flavor.
A Rich Chocolate Treat to Make Again
These dark chocolate walnut fudge brownies are a simple way to bring a rich, comforting dessert into your kitchen without extra effort. The soft, fudgy texture and gentle crunch from the walnuts create a balanced and satisfying bite. It’s a recipe that feels steady and dependable every time you make it.
With their easy preparation and flexible serving options, they fit well into both everyday moments and small gatherings. Whether you enjoy them fresh or save a few for later, they remain a classic treat worth making again.