I make these no-bake vegan Oreo cheesecake cups when I want something simple that still feels like a fun dessert to serve. They come together quickly and don’t require any baking, which makes them easy to fit into a busy day. I like how they can be portioned into individual cups, making them convenient and easy to share.
I often turn to this recipe when I need a dessert that feels a little more playful but still reliable. The creamy filling pairs well with the cookie base, creating a smooth and slightly crunchy contrast. I trust these to set well in the fridge and hold their shape, which makes them a regular option for both everyday treats and small gatherings.
Why You’ll Love This Recipe
These no-bake vegan Oreo cheesecake cups offer a smooth, creamy texture with a familiar chocolate cookie flavor. The crushed cookies form a simple base, while the filling stays light and balanced. It’s a dessert that feels satisfying without being too heavy.
They’re also very easy to prepare, even for beginners. Since there’s no baking involved, most of the time is spent chilling while the cups set. The steps are straightforward and don’t require any special techniques.
Another reason this recipe works so well is its flexibility. You can adjust the sweetness, change the toppings, or layer them differently to suit your preference. These no-bake vegan Oreo cheesecake cups are easy to customize while keeping the base simple.
Serves: 6 cups
This recipe makes about six individual cups, depending on portion size. You can use smaller cups for more servings or larger ones for a more filling dessert. They’re easy to scale up if needed.
Ingredients You’ll Need
For the Base
- 1½ cups crushed vegan chocolate sandwich cookies (such as Oreo-style cookies)
- 2 tablespoons melted coconut oil
For the Filling
- 1½ cups raw cashews (soaked for at least 4 hours or overnight)
- ½ cup coconut cream
- ⅓ cup maple syrup
- 1 teaspoon vanilla extract
- 2 tablespoons coconut oil (melted)
For the Oreo Layer
- ½ cup crushed cookies
Optional Toppings
- Whipped coconut cream
- Extra crushed cookies
- Chocolate shavings
Pro Tips
- Soak the cashews long enough to ensure a smooth filling. This helps avoid any grainy texture.
- Blend the filling thoroughly until completely smooth. This step is key for a creamy result.
- Crush the cookies evenly for a consistent base. This helps the texture stay balanced.
- Press the base firmly into each cup so it holds together. This makes serving easier.
- Chill the cups long enough to fully set before serving. This helps them keep their shape.
- Add toppings just before serving to keep them fresh and visually appealing.
Tools You’ll Need
- Food processor or blender
- Mixing bowls
- Measuring cups and spoons
- Small cups or jars for serving
- Spatula
Substitutions and Variations
Change the Cookies
Use any vegan chocolate sandwich cookies or similar biscuits. This keeps the structure while offering different flavors.
Make It Nut-Free
Use a dairy-free cream cheese alternative instead of cashews. This adjusts the recipe for dietary needs.
Add More Flavor
Mix in a small amount of cocoa powder or espresso powder. This enhances the chocolate flavor.
Adjust the Sweetness
Use agave or another liquid sweetener instead of maple syrup. This allows you to control the taste.
Layer It Differently
Create multiple layers of filling and cookies for added texture. This gives the dessert a slightly different presentation.
Make Ahead Tips
I like to prepare these no-bake vegan Oreo cheesecake cups ahead of time since they need several hours to set properly. Making them the night before works especially well because the filling firms up and the layers hold together more cleanly. This makes them easier to serve and gives them a more consistent texture.
You can also prepare the components separately in advance. The cookie base and filling can be made and stored in the refrigerator, then assembled when ready. This helps break the process into smaller steps and makes things feel more manageable.
If you need to store them longer, these cups can be frozen after they’ve set. Keep them in airtight containers and thaw in the refrigerator before serving. This helps maintain the creamy texture without affecting the structure.
Instructions
Step 1: Prepare the Cookie Base
Start by crushing the vegan chocolate sandwich cookies into fine crumbs using a food processor or by placing them in a sealed bag and crushing them with a rolling pin. Transfer the crumbs to a bowl and mix in the melted coconut oil. Stir until the mixture is evenly combined and slightly sticky.
Divide the mixture evenly among your serving cups. Press the crumbs down firmly using the back of a spoon to create a compact base. Place the cups in the refrigerator to set while you prepare the filling.
Step 2: Soak and Prepare the Cashews
If you haven’t already soaked the cashews, do so for at least 4 hours or overnight. This helps soften them, which is important for achieving a smooth filling. If you’re short on time, soaking in hot water for about 1 hour can work.
Drain and rinse the cashews thoroughly before using. Removing excess water helps maintain the right consistency. Set them aside for blending.
Step 3: Make the Cheesecake Filling
Add the soaked cashews, coconut cream, maple syrup, vanilla extract, and melted coconut oil to a blender. Blend until completely smooth and creamy. This step may take a few minutes depending on your blender.
Pause occasionally to scrape down the sides to ensure everything is evenly blended. The mixture should be thick, smooth, and free of any grainy texture. Taste and adjust sweetness if needed.
Step 4: Add the Oreo Layer
Stir the additional crushed cookies into the cheesecake filling or reserve them for layering. If mixing them in, fold gently to keep some texture. If layering, you’ll add them between layers of filling.
This step adds a bit of crunch and enhances the overall flavor. Keep the pieces slightly coarse for the best texture. Set aside for assembly.
Step 5: Assemble the Cups
Remove the prepared cups with the cookie base from the refrigerator. Spoon or pipe the cheesecake filling evenly over each base. If layering, alternate between filling and crushed cookies.
Smooth the tops with a spatula or spoon for a clean finish. Make sure each cup is evenly filled. This helps them set consistently.
Step 6: Chill Until Set
Place the assembled cups in the refrigerator for at least 4 to 6 hours or overnight. This allows the filling to firm up properly. Avoid serving before they are fully set.
If you need a quicker option, you can place them in the freezer for a shorter time. Just let them soften slightly before serving. Proper chilling ensures the best texture.
Step 7: Add Toppings and Serve
Before serving, add your desired toppings such as whipped coconut cream, extra crushed cookies, or chocolate shavings. Keep the toppings simple to complement the dessert. Add them just before serving for the best appearance.
Serve the cups chilled for the best texture and flavor. The filling should be firm but creamy. They’re ready to enjoy with minimal effort.
Serving Suggestions
These no-bake vegan Oreo cheesecake cups work well as a simple dessert for both casual and special occasions. Their individual portions make them easy to serve and enjoy. They’re a practical option when you want something prepared ahead.
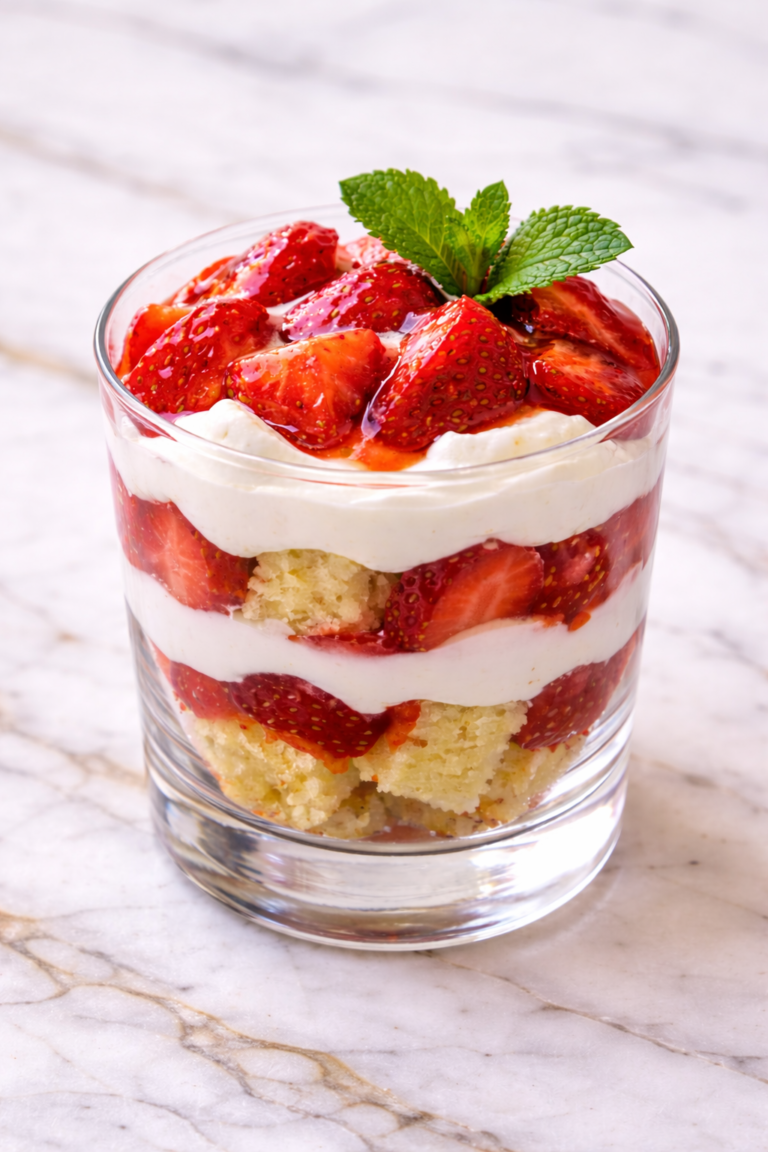
You can serve them with fresh berries for a light contrast. The slight tartness pairs well with the creamy filling. This helps balance the sweetness.
For a more indulgent option, drizzle a bit of melted chocolate over the top. This adds an extra layer of flavor without much effort. Small additions can enhance the presentation.
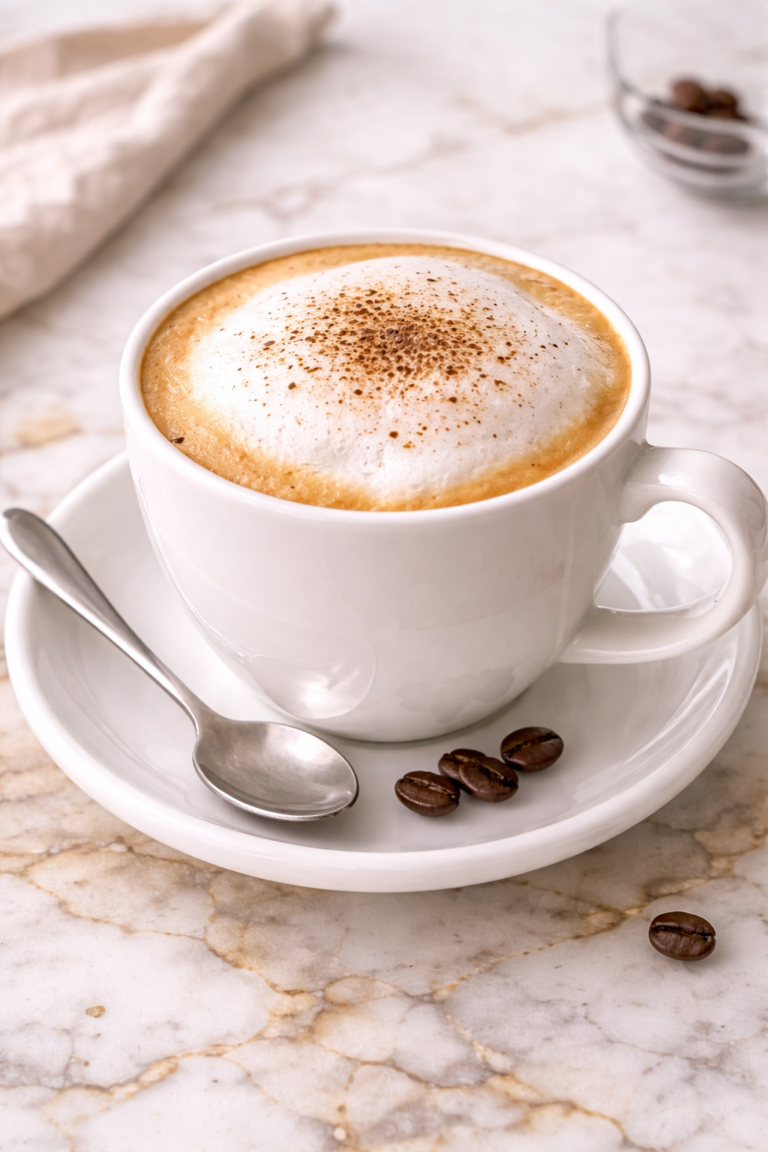
They also pair well with coffee or tea. The contrast between the warm drink and chilled dessert works nicely. This makes them a comfortable option for relaxed moments.
If serving for a group, arrange the cups on a tray for easy access. Their neat presentation makes them appealing. It’s a convenient way to serve multiple portions.
Leftovers and Storage
I usually store leftover no-bake vegan Oreo cheesecake cups in airtight containers in the refrigerator. They keep well for up to four to five days without losing their texture. Keeping them covered helps maintain freshness.
For longer storage, you can freeze the cups. Place them in freezer-safe containers and allow them to thaw in the refrigerator before serving. This helps preserve their creamy consistency.
Avoid leaving them at room temperature for too long, as the filling can soften. Serve them chilled for the best result. Proper storage helps maintain quality.
If needed, you can refresh the texture by chilling them again before serving. This helps restore firmness. Simple storage steps keep them reliable.
Nutrition and Benefits
- These no-bake vegan Oreo cheesecake cups provide a rich, creamy texture using plant-based ingredients. The cashews contribute healthy fats and help create a smooth consistency.
- Coconut cream adds richness while keeping the recipe dairy-free. It also enhances the overall texture of the dessert.
- Using simple ingredients allows you to control the sweetness and flavor. This makes the recipe flexible for different preferences.
- The portioned cups help with serving control and convenience. This makes them practical for both small and large gatherings.
- The recipe can be adjusted with different toppings and flavors, making it easy to customize. It’s a versatile dessert option.
Recipe FAQ
Do I have to soak the cashews?
Yes, soaking helps soften the cashews so they blend smoothly. This is important for achieving a creamy texture. Skipping this step may result in a grainy filling.
Can I use a different cookie?
Yes, you can use any vegan chocolate sandwich cookie or similar biscuit. This allows you to adjust the flavor slightly. The structure remains the same.
How do I know when they are fully set?
The filling should feel firm to the touch and hold its shape. Chilling for at least 4 to 6 hours helps ensure this. Overnight chilling works best.
Can I make these without coconut oil?
Coconut oil helps the filling firm up properly. Reducing or removing it may affect the texture. It’s recommended to include it.
Are these freezer-friendly?
Yes, they freeze well and can be stored longer. Thaw them in the refrigerator before serving. This helps maintain texture.
Can I adjust the sweetness?
Yes, you can adjust the maple syrup to your preference. Taste the filling before assembling. Small changes can improve balance.
What type of cups work best?
Small glass jars or dessert cups work well. They help maintain the shape and presentation. Choose based on your serving style.
A Simple and Fun Dessert You’ll Make Again
These no-bake vegan Oreo cheesecake cups are a dependable dessert that combines simple preparation with a satisfying result. The creamy filling and cookie base create a balanced texture that feels familiar and easy to enjoy. The process is straightforward, and the results stay consistent every time.
They’re a flexible option that works for everyday treats or small gatherings. With minimal effort and reliable results, this is a recipe you can come back to often. It’s the kind of dessert that fits easily into your routine while still feeling a little special.