I make this no-bake chocolate hazelnut tart when I want something rich and satisfying without needing to turn on the oven. It comes together with simple steps and feels like a special dessert even though it’s easy to prepare.
I like how the layers set in the fridge and slice cleanly when it’s time to serve. It’s one of those recipes I rely on when I want something dependable and homemade.
There’s something comforting about the combination of chocolate and hazelnut that always feels balanced and smooth. The texture is creamy with a firm base that holds everything together nicely.
I often make this for small gatherings or quiet weekends, and it always feels like a thoughtful treat to share. It’s simple, reliable, and always well received.
Why You’ll Love This Recipe
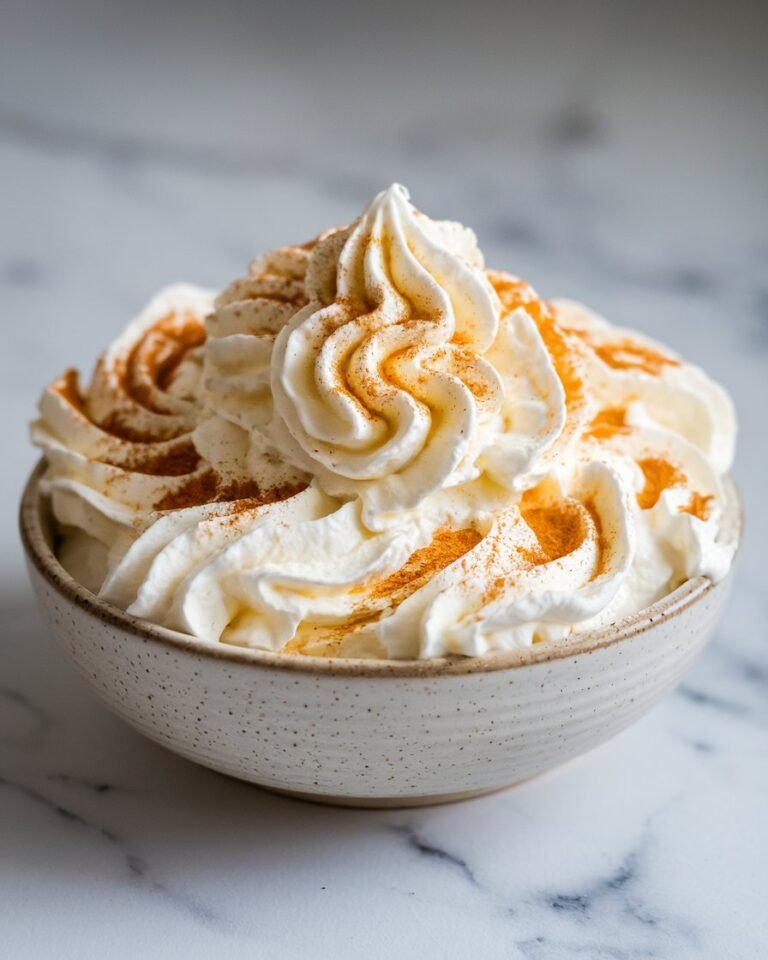
This no-bake chocolate hazelnut tart offers a smooth, rich filling paired with a slightly firm and crumbly base that creates a satisfying contrast in every bite. The chocolate brings depth, while the hazelnut adds a gentle nutty flavor that keeps it from feeling too heavy. The result is a dessert that feels indulgent without being overwhelming.
Another reason to enjoy this recipe is how simple it is to prepare. Since there’s no baking involved, it saves time and keeps the process approachable for home cooks of all levels. The steps are straightforward, and the ingredients are easy to find, making it a great choice for busy days or last-minute desserts.
It’s also a flexible recipe that works for different occasions. You can make it ahead of time, slice it into neat portions, and serve it easily. Whether you’re preparing it for a family dessert or a small gathering, it consistently delivers a smooth texture and balanced flavor.
Serves: 6 people
This tart serves about six people, depending on how you slice it. You can make smaller slices for lighter portions or slightly larger ones for a more filling dessert. It’s also easy to double the recipe if you need to serve a larger group.
Ingredients You’ll Need
For the crust:
- 1 1/2 cups chocolate cookie crumbs
- 4 tablespoons unsalted butter, melted
- 2 tablespoons granulated sugar
For the filling:
- 1 cup chocolate hazelnut spread
- 8 ounces cream cheese, softened
- 1/2 cup heavy cream
- 1 teaspoon vanilla extract
- Pinch of salt
For topping (optional):
- Chopped hazelnuts
- Chocolate shavings
Pro Tips
- Use finely crushed cookie crumbs for a smoother crust. This helps the base hold together better when slicing.
- Press the crust firmly into the pan to create an even layer. This keeps it from crumbling when serving.
- Make sure the cream cheese is softened before mixing. This helps create a smooth filling without lumps.
- Chill the tart long enough for the filling to fully set. This improves both texture and flavor.
- Taste the filling before adding it to the crust. You can adjust sweetness or add a pinch more salt if needed.
- Use a sharp knife to slice the tart cleanly. Wiping the knife between cuts can help keep the slices neat.
Tools You’ll Need
- Mixing bowls
- Hand mixer or stand mixer
- Measuring cups and spoons
- Rubber spatula
- 8-inch tart pan or pie dish
- Spoon or flat-bottomed cup for pressing crust
Substitutions and Variations
Use a Different Crust
Swap chocolate cookie crumbs with graham cracker crumbs or crushed digestive biscuits. This creates a lighter base while still holding the filling well.
Make It Dairy-Free
Use dairy-free cream cheese and coconut cream instead of heavy cream. This keeps the texture creamy while adjusting for dietary needs.
Add a Crunch Layer
Stir in chopped hazelnuts or crushed cookies into the crust or sprinkle between layers. This adds texture and a bit of contrast to the smooth filling.
Adjust the Sweetness
Use a darker chocolate hazelnut spread or add a pinch of salt to balance the sweetness. This helps create a deeper, less sweet flavor.
Add a Flavor Twist
Mix in a small amount of espresso powder or a drop of almond extract. These additions enhance the chocolate flavor without overpowering it.
Make Ahead Tips
This no-bake chocolate hazelnut tart is a great dessert to prepare in advance, especially when you want something ready without last-minute work. You can make the full tart up to 24 hours ahead and keep it covered in the refrigerator until serving. This resting time helps the filling firm up and allows the flavors to settle into a smooth, balanced texture.
If you prefer to break up the process, you can prepare the crust and filling separately a day in advance. Store the crust covered at room temperature and keep the filling chilled until you’re ready to assemble. Once combined, allow enough chilling time so the tart sets properly before slicing.
For longer storage, the tart can also be frozen without toppings. Wrap it tightly in plastic wrap and place it in a freezer-safe container. When ready to serve, thaw it in the refrigerator overnight so it returns to a creamy, sliceable consistency.
Instructions
Step 1: Prepare the Crust
In a mixing bowl, combine the chocolate cookie crumbs, granulated sugar, and melted butter until evenly mixed. The texture should resemble damp sand and hold together when pressed. Transfer the mixture into your tart pan and press it firmly into the base and slightly up the sides to form an even crust.
Step 2: Chill the Crust
Place the prepared crust in the refrigerator and let it chill for at least 20 to 30 minutes. This helps the butter firm up and keeps the crust stable when adding the filling. A well-chilled crust will hold together better when slicing.
Step 3: Mix the Filling
In a large bowl, beat the softened cream cheese until smooth and free of lumps. Add the chocolate hazelnut spread, vanilla extract, and a pinch of salt, then continue mixing until fully combined. The mixture should be thick, smooth, and evenly blended.
Step 4: Whip the Cream
In a separate bowl, whip the heavy cream until soft peaks form. The cream should be light and airy but still hold its shape. Be careful not to overwhip, as this can make it too stiff to fold smoothly.
Step 5: Combine the Filling
Gently fold the whipped cream into the chocolate hazelnut mixture using a spatula. Work slowly to keep the mixture light and smooth. Continue folding until no streaks remain and the texture is evenly blended.
Step 6: Assemble the Tart
Remove the chilled crust from the refrigerator and spoon the filling into it. Spread the mixture evenly with a spatula, smoothing the top for a clean finish. Make sure the filling reaches all edges of the crust for even slices.
Step 7: Chill Until Set
Place the assembled tart in the refrigerator and chill for at least 4 hours, or until fully set. For best results, allow it to chill overnight. This helps the filling firm up and makes slicing easier.
Step 8: Add Toppings and Serve
Before serving, sprinkle chopped hazelnuts or chocolate shavings over the top if desired. Slice the tart with a sharp knife, wiping it clean between cuts for neat pieces. Serve chilled for the best texture and flavor.
Serving Suggestions
This no-bake chocolate hazelnut tart is best served cold, straight from the refrigerator, where the filling holds its shape and the texture stays smooth. The chilled consistency makes each slice feel rich but still easy to enjoy. It works well as a simple dessert after dinner or as part of a small gathering.
For a balanced presentation, you can serve each slice with a small amount of fresh fruit such as berries. The light acidity of the fruit pairs nicely with the rich chocolate and hazelnut flavors. A simple dusting of cocoa powder or extra chopped nuts can also add a clean finishing touch.
If you’re serving guests, slice the tart just before bringing it to the table to keep the edges neat. Individual plates with small portions work well since the dessert is rich. Keeping the presentation simple helps highlight the texture and flavor.
Leftovers and Storage
Store any leftover tart in an airtight container in the refrigerator for up to 4 days. Keeping it well covered helps maintain its smooth texture and prevents it from absorbing other flavors. The tart will stay firm and easy to slice when kept chilled.
If you need to store slices separately, place parchment paper between them to prevent sticking. This makes it easier to remove individual portions without damaging the shape. Keeping the slices flat also helps maintain their structure.
For freezing, wrap the tart or individual slices tightly and store in a freezer-safe container for up to one month. Thaw in the refrigerator overnight before serving. Avoid leaving it at room temperature for too long, as the filling may soften too much.
Nutrition and Benefits
- This tart offers a rich and satisfying dessert in smaller portions, making it easier to enjoy without needing a large serving. Its balanced texture helps it feel complete with just a slice.
- Chocolate hazelnut spread provides a combination of flavor and energy, making it a satisfying treat when enjoyed in moderation. The hazelnuts also contribute a small amount of healthy fats.
- Preparing this dessert at home allows you to control the ingredients and adjust sweetness levels if needed. This can be helpful for those who prefer simple, familiar ingredients.
- The no-bake method keeps the preparation straightforward and avoids the need for additional cooking steps. It’s a practical option for warm days or when you want a quicker process.
- The combination of creamy filling and firm crust creates a balanced texture that makes each bite enjoyable. This contrast adds to the overall satisfaction of the dessert.
Recipe FAQ
Can I use a different pan if I don’t have a tart pan?
Yes, you can use a pie dish or a square baking dish instead. The shape will change slightly, but the texture and flavor will remain the same. Just make sure the crust is pressed evenly.
How do I know when the tart is fully set?
The filling should feel firm to the touch and hold its shape when sliced. It should not jiggle in the center when gently moved. Chilling overnight gives the best results.
Can I make this without cream cheese?
Cream cheese helps give the filling structure and a smooth texture. You can try mascarpone as an alternative, but the flavor will be slightly different. It’s best to use something with a similar consistency.
What if my filling is too soft?
If the filling is too soft, it may need more chilling time. Place it back in the refrigerator and allow it to set longer. Make sure the whipped cream was properly whipped before folding.
Can I make this dessert ahead of time?
Yes, this tart is ideal for making ahead and actually benefits from extra chilling time. Preparing it the day before helps improve both texture and flavor. Keep it covered until serving.
Can I add other flavors to the filling?
Yes, small additions like espresso powder or flavored extracts can enhance the taste. Use them in small amounts so they don’t overpower the chocolate and hazelnut. Simple changes can add variety while keeping the base intact.
How should I slice the tart cleanly?
Use a sharp knife and wipe it clean between each cut. This helps create neat slices without dragging the filling. Chilling the tart well also makes slicing easier.
A Rich and Simple Dessert to Make Again
This no-bake chocolate hazelnut tart is a reliable choice when you want something smooth, rich, and easy to prepare without extra steps. The creamy filling and firm crust come together in a way that feels balanced and satisfying, making it a dessert that works well for both everyday treats and small gatherings.
It’s easy to prepare ahead, simple to store, and dependable every time you make it. With its familiar flavors and clean presentation, it’s a recipe you can return to whenever you want something homemade that feels both comforting and complete.